
Setting Up a New Home with Appliances: What to Verify Before the First Use
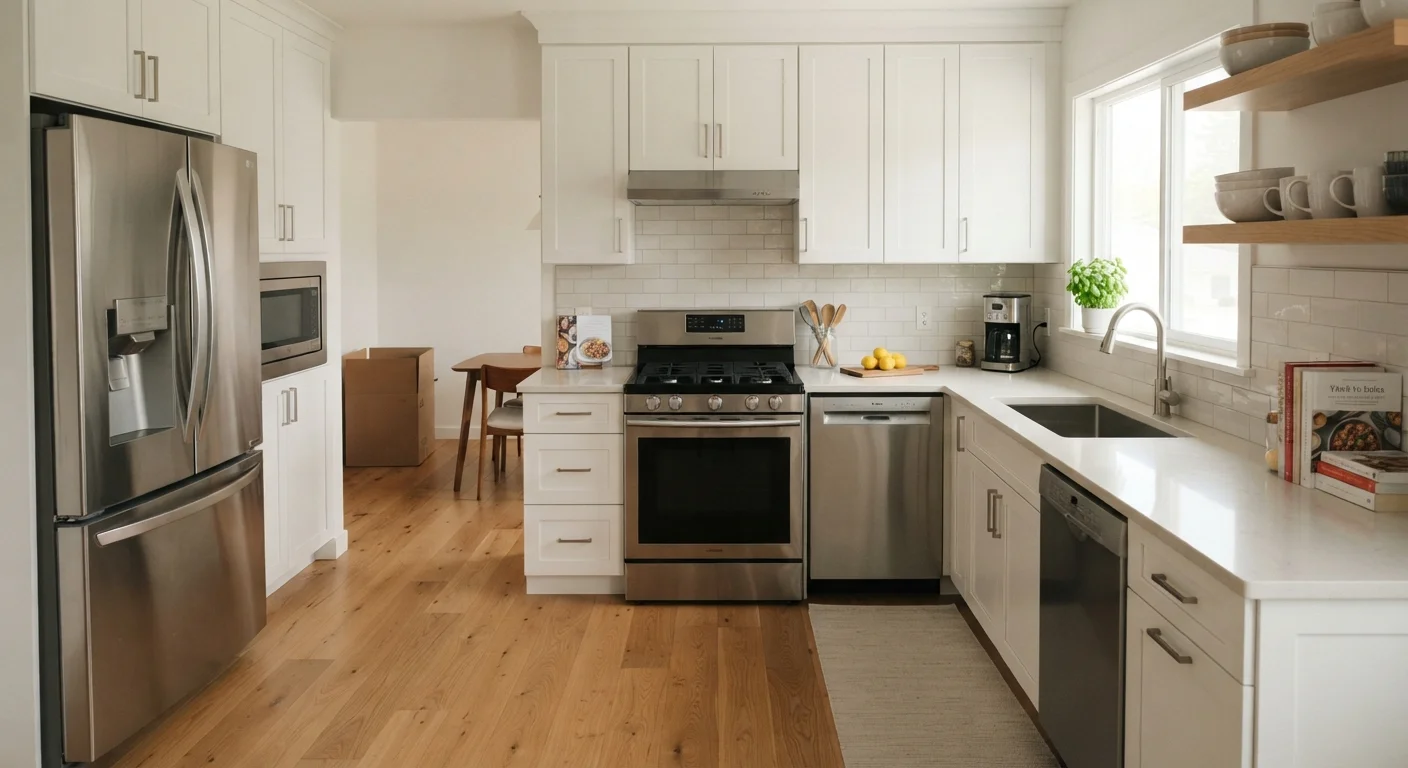
Photo credit: Wiseturt.com | Blogs Curated For You
In this article
A practical checklist covering installation checks, settings to confirm, and first-use steps that protect your appliances from day one.
Key Takeaways
- Checking installation details before first use helps prevent damage, water leaks, and safety hazards.
- Registering appliances with manufacturers activates warranty coverage from day one.
- Default factory settings on appliances are not always optimized for efficiency or safety.
- Running break-in cycles on ovens and refrigerators is a standard, manufacturer-recommended step.
- Documenting serial numbers and model information now saves time if repairs are ever needed.
Why the First Few Hours Matter Most
Moving into a new home brings a long to-do list, and it's tempting to plug everything in and assume the appliances are ready to go. In reality, the window between delivery and first use is exactly when small verification steps pay off the most. An unchecked water line, a missing anti-tip bracket, or a refrigerator running at the wrong temperature can quietly cost you - in spoiled food, voided warranties, or appliance damage - before you realize anything went wrong.
This checklist is designed to walk you through each major appliance category methodically. You don't need specialized skills or tools for most of these steps. What you do need is about an hour, your owner's manuals (or downloaded PDFs from the manufacturer's website), and a notepad for recording model numbers and serial numbers.
For broader context on keeping your home running well after you're settled in, see why new homeowners underestimate maintenance - it covers common upkeep oversights worth knowing early.
Documentation and Registration
Refrigerator and Freezer
Oven and Range
Dishwasher and Laundry Appliances
HVAC and Water Heater
Final Safety Checks
Tools and Resources You'll Need
Most pre-use checks require no special equipment, but having a few basics on hand makes the process faster and more reliable. Gather these before you start working through the checklist.
Appliance thermometer
Verify actual refrigerator and freezer temperatures, which factory settings don't always reflect accurately.
Bubble level
Check that the refrigerator, washing machine, and range are level to ensure proper operation and door sealing.
Owner's manuals (printed or digital PDF)
Provide model-specific burn-in procedures, temperature settings, and connection requirements for each appliance.
Flashlight or phone torch
Inspect behind and beneath appliances for water leaks, loose hoses, or installation issues in low-light spaces.
Notepad or home management app
Record model numbers, serial numbers, and registration confirmation for future warranty or repair needs.
Voltage tester (non-contact)
Confirm that outlets used for high-draw appliances are live and properly grounded - useful for peace of mind without opening any panels.
It's also worth bookmarking the Home Maintenance hub for ongoing upkeep guidance once you're settled in. And if you're ever unsure whether an appliance issue calls for a repair or replacement down the road, this decision framework walks through the key questions clearly.
Gas and Electrical Connections Are Not DIY Territory
If an appliance requires a new gas line connection, a 240-volt outlet installation, or any wiring work, stop and hire a licensed electrician or plumber. These connections are regulated in most jurisdictions and must meet local code. Incorrect gas or electrical work can create fire and carbon monoxide hazards that are not immediately visible.
Transit Bolts Can Destroy a Washing Machine
New washing machines are shipped with transit bolts securing the drum to prevent damage during transport. If these bolts are not removed before first use, running the machine can cause severe internal damage. Check the back panel of any new washer and remove bolts as described in the installation guide before running any cycle.
After the Checklist: Habits That Protect Appliances Long-Term
Completing these pre-use checks sets a strong foundation, but appliance longevity also depends on how you use them day to day. Some of the most common problems - like refrigerators working too hard or dishwashers leaving residue - stem from habits or assumptions that turn out to be incorrect. For a useful reality check, see appliance myths that lead to wasted energy and unnecessary repairs.
Also consider setting a calendar reminder for seasonal home preparation tasks. For example, your appliances - particularly HVAC components and water-connected units - can be affected by cold-weather conditions. Getting your home ready before the first hard freeze offers practical steps before winter arrives.
Keep Warranty Records Accessible
Manufacturer warranties typically require proof of purchase and registration to process claims. Store your appliance documentation - receipts, registration confirmations, and serial numbers - in a single folder or digital location you can access quickly. Many warranty disputes arise not because coverage doesn't exist, but because records are unavailable at the time of a claim.
This article is for general informational purposes only. Always follow the specific installation and safety guidance in your appliance owner's manuals, and consult a licensed professional for any electrical, gas, or plumbing connections.

Author
Home & Appliances Editorial Team
Home & Appliances Editorial Team is the collective byline for our editorial team and contributor network. Articles published under this byline or an editorial pen name are researched, written, and reviewed according to our editorial standards for clarity, consistency, and independence before publication.
View all articles →