
Annual Vehicle Check-Up: A Practical Walkthrough
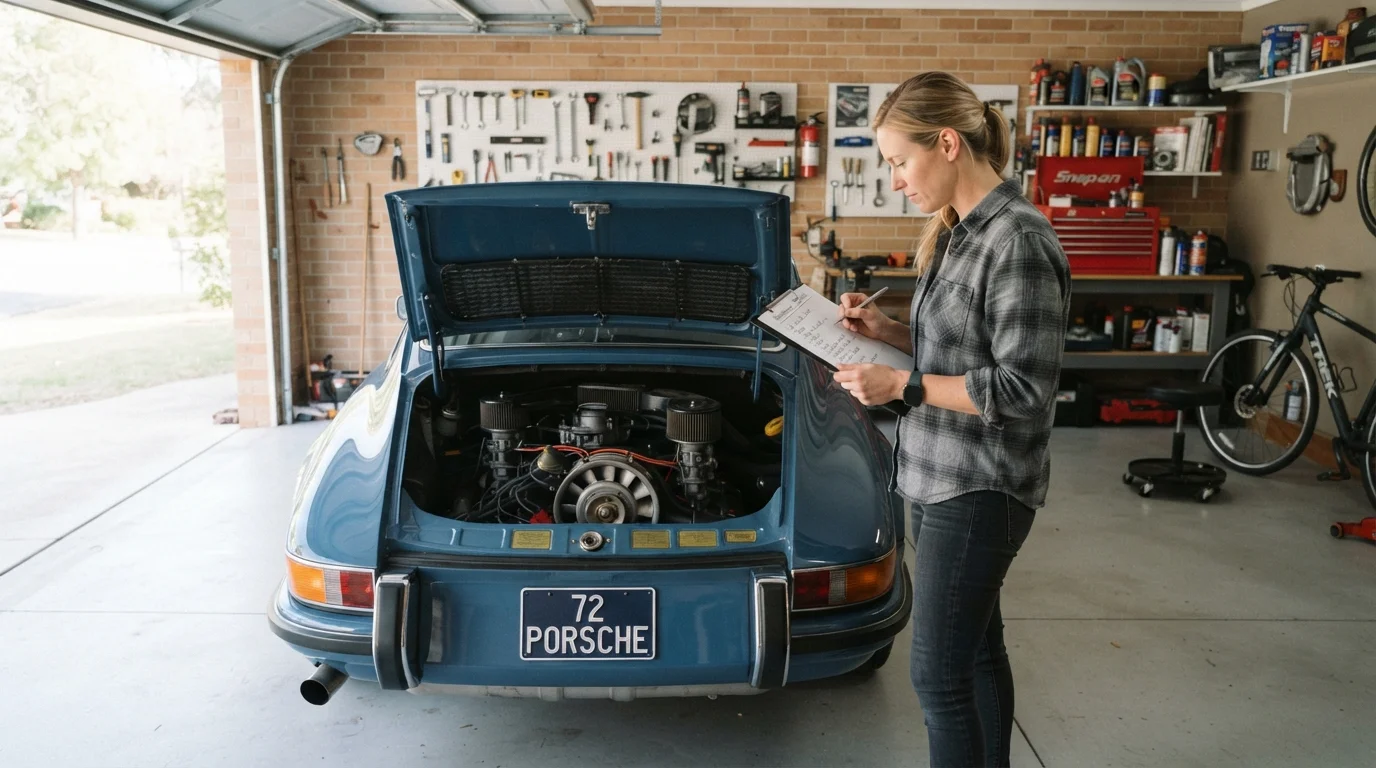
Photo credit: Wiseturt.com | Blogs Curated For You
In this article
A structured, item-by-item guide for reviewing your car's key systems once a year—no mechanic required for the basics.
Key Takeaways
- Most annual checks require no special tools and can be done in your driveway.
- Catching worn tires, low fluids, or dim lights early can prevent costly repairs and safety risks.
- Your owner's manual is the most reliable source for fluid specs and service intervals.
- Some items-like brake inspection and suspension checks-are best left to a qualified mechanic.
- An annual check pairs well with a seasonal review to keep nothing overlooked all year.
Why a Once-a-Year Walkthrough Makes Sense
Most drivers interact with their car every day without ever stopping to look at it carefully. Small issues-a slow tire leak, a cracked wiper blade, a coolant level creeping down-rarely announce themselves loudly until they become real problems. A structured annual check-up gives you a chance to catch those things on your terms, not the side of the road.
This checklist is organized so you can work through it at home in roughly an hour. It covers the systems that matter most for safety, reliability, and avoiding expensive repairs. Where a task genuinely requires a professional, we say so plainly. For everything else, a visual inspection and basic common sense are all you need.
This walkthrough focuses on annual habits. For adjustments that vary by season-like tire pressure in winter or coolant concentration in summer-see our seasonal car maintenance guide. If your vehicle has passed 100,000 miles, you may also want to review our guidance on keeping a high-mileage car road-worthy alongside this checklist.
Know Your Limits Before You Start
This checklist covers visual inspections and basic checks-not repairs. Tasks involving brakes, suspension components, belts, or electrical systems should be diagnosed and repaired by a qualified mechanic. Attempting repairs without the correct tools, knowledge, or safety equipment can cause injury or vehicle damage. When in doubt, flag the item and take it to a professional.
What You'll Need
Before you start, gather a few basic items. None of these require a trip to a specialty shop.
Owner's manual
Provides the correct fluid specs, capacities, and service intervals specific to your vehicle.
Tire pressure gauge
Used to check that all four tires (and the spare) are inflated to the manufacturer's specification.
Flashlight or work light
Lets you see into the engine bay, under the car, and into tire tread grooves clearly.
Penny (US cent)
Used for the quick tread depth check-insert into the tread groove to gauge remaining depth.
Clean rag or paper towels
Needed to wipe the oil dipstick before reading the level and to check fluid color.
Notepad or phone notes app
Record what you find, flag items for follow-up, and track mileage at the time of the check.
The Annual Check-Up Checklist
Work through these groups in order-exterior first, then under the hood, then inside the cabin. Check off items as you go. Flag anything that looks worn, low, or off, and note it for follow-up.
Exterior & Tires
Under the Hood
Brakes & Suspension
Interior & Safety Systems
Brake Concerns Are Never Optional
If any brake-related item raises a concern-unusual noises, a spongy pedal, visible fluid loss, or a pulling sensation while stopping-do not delay having the system inspected by a qualified mechanic. Brakes are a primary safety system, and degraded brake performance significantly increases stopping distances. Do not treat a brake issue as a 'schedule it eventually' item.
After the Walkthrough
Once you've worked through the list, review your flagged items. Divide them into three buckets: things you can address yourself (like topping off washer fluid or replacing wiper blades), things to schedule with a mechanic soon (brake wear, suspension noise, belt condition), and things that need immediate attention before driving again (any brake concern, a tire with visible structural damage, or a warning light you haven't identified).
Keep a simple log-even a note on your phone-with the date of the check, the mileage, and what you found. This record is useful if you ever sell the vehicle or need to explain a service history to a mechanic.
If you're in the habit of reviewing your finances and home annually as well, our annual insurance coverage checklist and home maintenance audit follow the same practical format. And if you're curious about which maintenance tasks are realistic to handle yourself, our guide on DIY basic maintenance gives an honest picture of what's involved.

Author
Auto Editorial Team
Auto Editorial Team is the collective byline for our editorial team and contributor network. Articles published under this byline or an editorial pen name are researched, written, and reviewed according to our editorial standards for clarity, consistency, and independence before publication.
View all articles →