
Getting Your Home Ready Before the First Hard Freeze
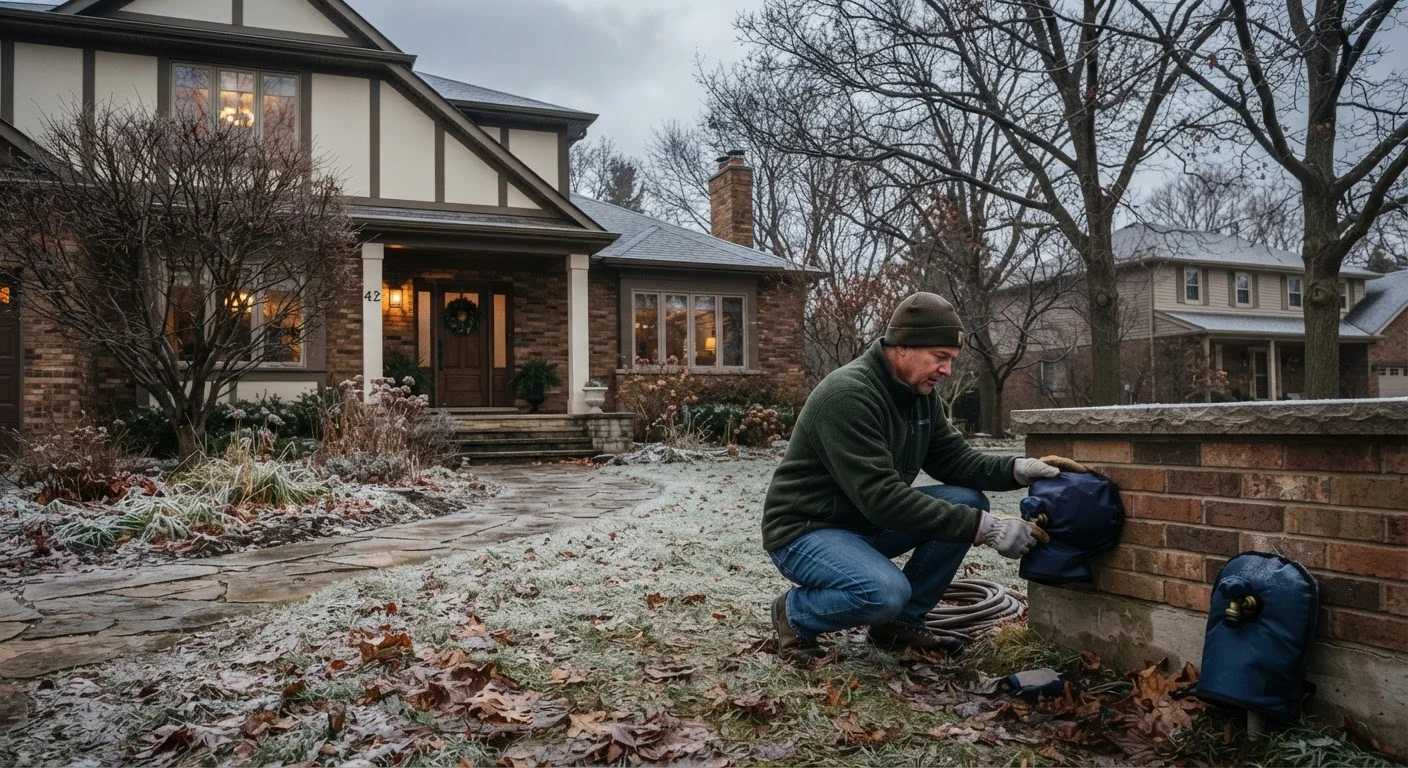
Photo credit: Wiseturt.com | Blogs Curated For You
In this article
Pipes, outdoor faucets, HVAC filters, and more — a practical walkthrough of what to address before winter sets in.
Key Takeaways
- Exposed pipes and outdoor faucets are among the first things to address before freezing temperatures arrive.
- Replacing your HVAC filter before winter reduces breakdown risk and improves efficiency.
- Disconnecting garden hoses and draining irrigation systems prevents frozen, cracked supply lines.
- Checking weatherstripping, door seals, and attic insulation helps retain heat all season.
- Most pre-freeze tasks require only basic tools and can be completed in a single afternoon.
Why the Period Before a Hard Freeze Matters Most
A hard freeze - defined by the National Weather Service as temperatures at or below 28°F for several hours - is the threshold at which unprotected water pipes, outdoor faucets, and irrigation lines are at genuine risk of freezing and bursting. Unlike a light frost, a hard freeze can cause damage within a single night if preparation has been skipped.
The good news: virtually all of the most consequential winterization tasks fall into the DIY-accessible category. They require no licensed trades, no special permits, and no expensive equipment - just a few hours of focused work before temperatures drop. This walkthrough covers what to address, in a practical order, so nothing important is left out.
For context on how winter prep fits into your year-round maintenance schedule, see the full seasonal maintenance calendar.
What you will need
What You'll Need
The materials list for pre-freeze preparation is short and inexpensive. Gather the following before you start so you can move through each step without interruption.
Pipe insulation foam sleeves
Wrap exposed pipes in unheated spaces such as garages, crawl spaces, and exterior walls to slow heat loss.
Outdoor faucet covers (faucet insulators)
Slip over hose bibs to insulate them from freezing air after hoses are removed.
HVAC filter (correct size for your unit)
Replace the existing filter to maintain proper airflow and heating efficiency heading into winter.
Weatherstripping or door sweep
Seal gaps at exterior door frames and thresholds where cold air infiltrates.
Flashlight or headlamp
Inspect attic insulation depth, crawl space pipes, and dark utility areas safely.
Caulk gun and exterior-grade caulk
Seal small gaps around window frames, utility penetrations, and foundation sill plates.
Step-by-Step Winterization Walkthrough
Work through these steps in order. The first four focus on water - the source of the costliest freeze damage. Steps five through seven address heating efficiency and the building envelope.
Disconnect and drain garden hoses
Water left sitting in a connected garden hose can back up into the faucet body and freeze, cracking the fitting or the pipe behind the wall. Disconnect every hose from its outdoor spigot, drain it fully, and store it in a garage or shed. Coil hoses loosely - tight coils crack rubber over winter.
Shut off and drain your irrigation system
Locate the dedicated shut-off valve for your irrigation or sprinkler system - typically near the main water supply or in the basement. Turn it off, then activate each zone briefly to bleed residual water from the lines. For systems with many zones or buried lines, a professional blow-out with compressed air is the most thorough option; consult your system's manual or a licensed irrigation contractor.
Cover outdoor faucets (hose bibs)
Foam faucet insulator covers slip over standard hose bibs and fasten with a built-in closure. They are inexpensive and widely available at hardware stores. If your home has frost-free sillcock faucets (identifiable by a longer stem that extends inside the wall), they are more cold-tolerant - but a cover still adds a margin of protection during extreme cold snaps.
Insulate exposed pipes in unheated spaces
Pipes running through garages, crawl spaces, or along exterior walls are vulnerable. Measure pipe diameter and purchase matching foam sleeve insulation - it splits lengthwise for easy installation. Tape seams with pipe insulation tape. For pipes in areas that drop below 20°F for extended periods, thermostatically controlled heat tape (also called heat cable) provides active protection; follow manufacturer installation instructions carefully.
Replace your HVAC filter and test the heating system
A clogged filter restricts airflow, forces the furnace to work harder, and raises the likelihood of a mid-winter failure. Check the filter size printed on the existing filter's frame, purchase a replacement of the same dimensions, and swap it in. Then turn the thermostat to heat mode and set it several degrees above the current room temperature. Confirm that warm air flows from all vents within a few minutes. For a deeper inspection - including burner condition, heat exchanger integrity, and flue safety - schedule a professional tune-up before the heating season starts. See our complete HVAC maintenance guide for a full breakdown of what a seasonal inspection covers.
Inspect and improve door and window seals
Run your hand slowly around the perimeter of each exterior door while it is closed. Any detectable draft indicates a failed weatherstrip or door sweep. Peel-and-stick weatherstripping is a straightforward DIY replacement for most door frames. Door sweeps - the strip along the bottom edge - are similarly replaceable with a screwdriver and a hardware-store part. For windows, check the caulk line where the frame meets the exterior siding; cracked or missing caulk lets cold air and moisture in.
Check attic insulation and ventilation
Inadequate attic insulation allows heat to escape through the roof and can contribute to ice dams - ridges of ice that form at the roof edge and back up meltwater under shingles. Use a flashlight to inspect your attic floor: insulation should be deep enough to cover the tops of the ceiling joists (a rough visual indicator of adequate depth). Do not block soffit or ridge vents while adding insulation - attic ventilation is a separate, critical function. For more detail on attic-related maintenance tasks that protect long-term home value, see this overview of often-overlooked upkeep.
Take Photos as You Go
Photograph pipe locations, insulation coverage, and shut-off valve positions as you complete each step. These images are useful if you need to describe a problem to a plumber or contractor later, and they serve as a handy reference when you repeat this process next year.
After You've Completed the Checklist
Once the steps above are done, keep an eye on extended forecasts throughout winter. When temperatures are projected to drop below 20°F overnight, consider allowing cold-side faucets on exterior walls to drip slowly - moving water is harder to freeze. Open cabinet doors under sinks on exterior walls to let conditioned air reach the pipes behind them.
If you recently moved into the home, it is worth verifying that all appliances connected to water - such as a dishwasher, washing machine, or refrigerator ice maker - are correctly installed and not exposed to drafts from adjacent unheated spaces. Our appliance setup verification guide covers those checks in detail.
If a Pipe Freezes, Act Carefully
A frozen pipe does not always burst immediately - but it can as soon as it thaws. If you suspect a frozen pipe, shut off the water supply to that section and open the affected faucet to relieve pressure before applying any heat. Use a hair dryer or heating pad on low - never an open flame. If you cannot locate or access the frozen section, or if water is already leaking, call a licensed plumber.
Homeowners in particularly cold climates or older homes may also benefit from a professional home energy audit, which can identify insulation gaps, air leakage points, and other factors that compound heat loss during sustained cold periods.

Author
Home & Appliances Editorial Team
Home & Appliances Editorial Team is the collective byline for our editorial team and contributor network. Articles published under this byline or an editorial pen name are researched, written, and reviewed according to our editorial standards for clarity, consistency, and independence before publication.
View all articles →