
Caulking vs. Weatherstripping: Sealing Your Home Against Drafts
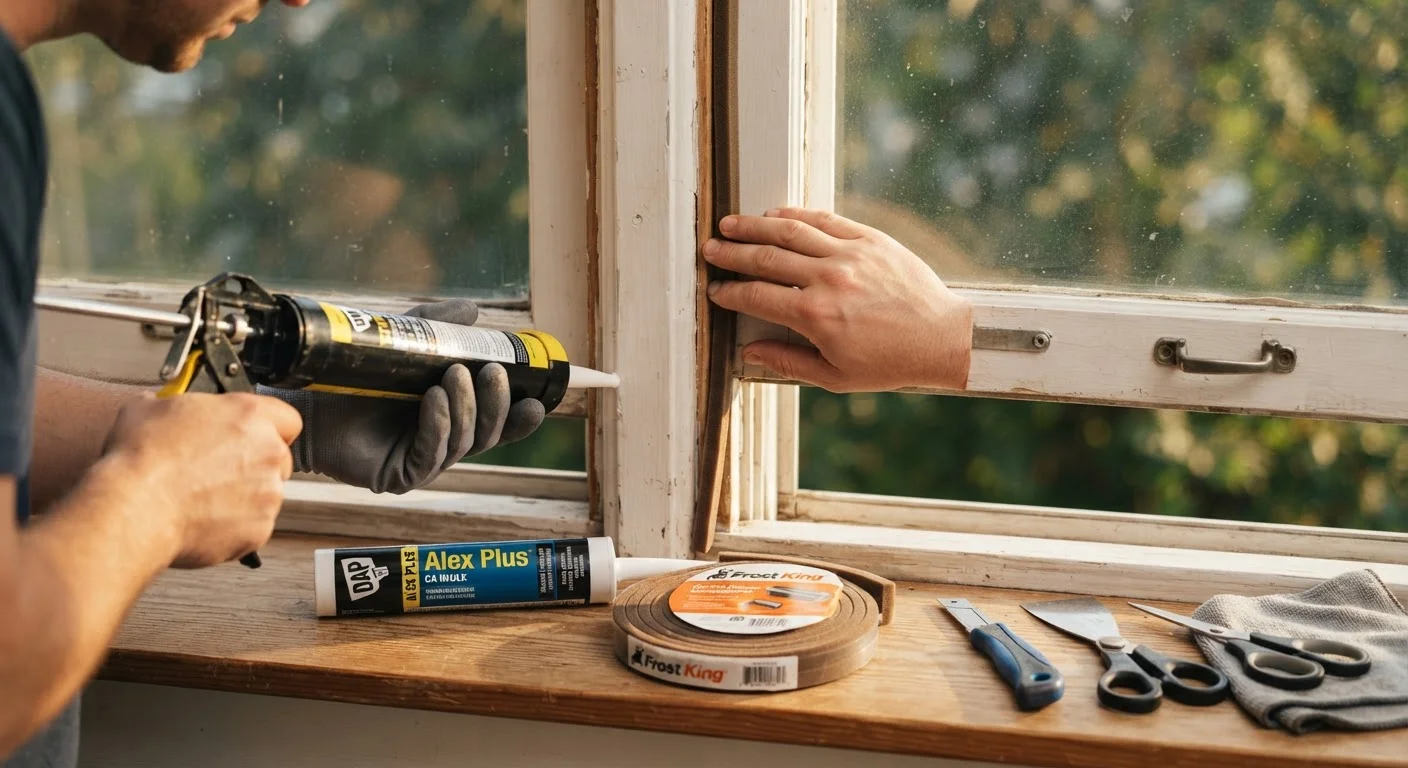
Photo credit: Wiseturt.com | Blogs Curated For You
In this article
Both block drafts and moisture, but they serve different purposes. Learn which sealing method fits each gap or opening in your home.
Key Takeaways
- Caulking is best for stationary gaps and cracks; weatherstripping handles movable openings like doors and windows.
- Using the wrong method in the wrong location leads to faster failure and continued energy loss.
- Both materials are DIY-friendly but require clean, dry surfaces for proper adhesion and longevity.
- Most homes need both - they work together as part of a complete draft-sealing strategy.
- Weatherstripping typically needs replacement every few years; caulk can last a decade or more when applied correctly.
What Each Method Actually Does
Both caulking and weatherstripping block unwanted airflow, moisture, and noise - but they achieve this in fundamentally different ways, and applying one where the other belongs typically means the seal fails within months.
Caulking is a flexible sealant (typically silicone, latex, or polyurethane) applied as a liquid or paste that cures into a semi-rigid bead. Once set, it bonds tightly to adjacent surfaces and fills irregular gaps with precision. It performs best where surfaces are stationary - meaning they don't shift, flex, or separate during normal use.
Weatherstripping refers to a variety of compressible materials - foam tape, V-strip (tension seal), door sweeps, and reinforced rubber gaskets - installed along the edges of movable components. When a door closes or a window latches, the weatherstripping compresses to fill the gap and springs back when the opening is released. It tolerates thousands of compression cycles without losing effectiveness.
The core rule: if it moves, use weatherstripping. If it doesn't, use caulk. That single distinction eliminates most homeowner confusion at the start.
| Criterion | Caulking | Weatherstripping |
|---|---|---|
| Best application | Fixed, stationary gaps and cracks | Movable openings (doors, windows) |
| Material form | Paste or liquid that cures rigid | Compressible foam, rubber, or metal |
| Typical lifespan | 7-15 years (properly applied) | 2-5 years depending on traffic |
| DIY difficulty | Low - caulk gun and steady hand | Low - scissors and adhesive strips |
| Handles movement | No - cracks under repeated flex | Yes - designed for compression cycles |
| Moisture resistance | High (silicone or polyurethane) | Moderate - varies by material |
Where to Apply Each Around Your Home
Caulk is the right choice for the following fixed locations:
- The joint between a window or door frame and the exterior wall (the trim-to-siding gap)
- Gaps where baseboards meet the floor or wall
- Cracks in exterior siding, masonry, or stucco
- Penetrations where pipes, cables, or vents pass through walls
- Interior gaps along crown molding, around tubs, and at countertop edges
Weatherstripping belongs at these movable locations:
- The perimeter of an exterior door - top, latch side, and hinge side
- The bottom of a door (using a door sweep or threshold gasket)
- The sash edges of double-hung or casement windows
- Attic access hatches and pull-down stairs
One important note: never apply caulk along the bottom of a window sash or a door's moving edge. Caulk there will bond the component shut or crack immediately from movement stress. Similarly, weatherstripping applied to a fixed crack won't seal it - foam tape doesn't fill irregular voids the way a cured bead does.
For moisture concerns below the main living area, basement and crawl space sealing requires its own set of approaches beyond standard caulk or weatherstripping.
When to Call a Professional
Most caulking and weatherstripping tasks are straightforward DIY projects. However, if you discover significant gaps around structural penetrations, damaged framing, or deteriorating sill plates while sealing, those conditions warrant a licensed contractor's assessment. Sealing over structural damage without addressing the root cause can trap moisture and worsen the problem over time.
Choosing Materials and Getting It Right
Not all caulks or weatherstripping products are created equal. Here's how to navigate the options without guesswork:
Caulk types at a glance
- Silicone: Excellent for exterior use and wet areas (bathrooms, windows). Very durable but difficult to paint over and harder to clean up.
- Latex/acrylic: Paintable and easy to apply - good for interior trim gaps. Less waterproof than silicone.
- Polyurethane: Strong adhesion, paintable, and handles movement better than standard latex. Often used on exterior joints subject to seasonal expansion.
Weatherstripping types at a glance
- Foam tape: Inexpensive and easy to install; best for irregular gaps on low-traffic windows.
- V-strip (tension seal): Durable plastic or metal strip that fits into the channel of a window or door. Lasts several years with minimal maintenance.
- Door sweeps: Aluminum or rubber strips mounted to the door bottom. Essential for blocking the significant gap under exterior doors.
- Compression strips: Bulb or D-profile rubber, ideal for door stops where the door presses directly against the seal.
Proper surface preparation is non-negotiable for both methods. Surfaces must be clean, dry, and free of old sealant before application. Caulk applied to a dusty or damp joint will peel within a season. Weatherstripping adhesive won't hold on a painted surface that isn't wiped down first.
Sealing drafts is one of several underappreciated maintenance tasks that help protect a home's long-term condition and efficiency.
~30%
Home heating/cooling energy lost through air leaks
The U.S. Department of Energy estimates that air infiltration through gaps, cracks, and openings can account for roughly 25-30% of a home's heating and cooling energy use.
$200-$600
Estimated annual savings from thorough air sealing
According to Energy Star program guidance, homeowners who thoroughly air-seal and insulate can reduce energy bills meaningfully, with estimates commonly ranging from $200 to over $600 per year depending on climate and home size.

Author
Home & Appliances Editorial Team
Home & Appliances Editorial Team is the collective byline for our editorial team and contributor network. Articles published under this byline or an editorial pen name are researched, written, and reviewed according to our editorial standards for clarity, consistency, and independence before publication.
View all articles →