
Keeping Moisture Out: Basement and Crawl Space Fundamentals
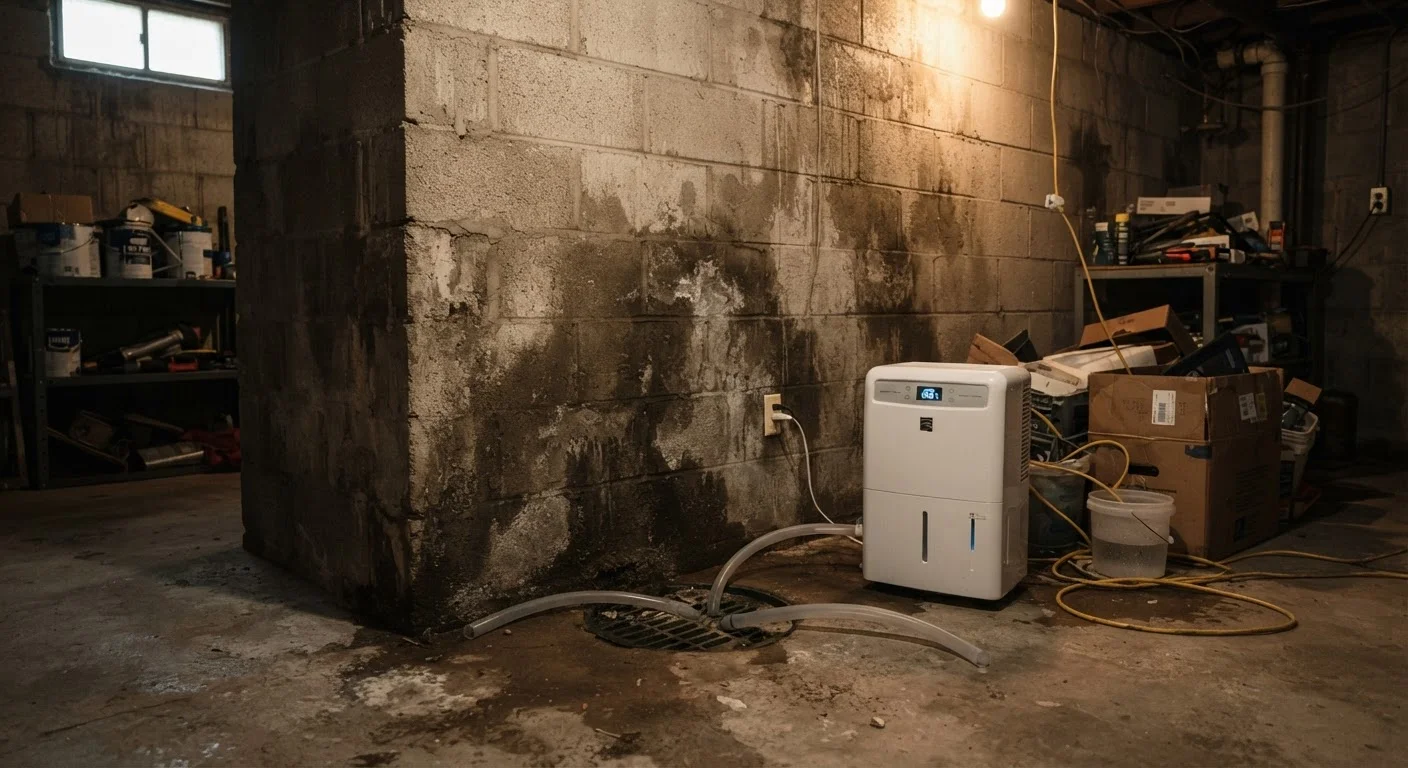
Photo credit: Wiseturt.com | Blogs Curated For You
In this article
Moisture intrusion below your living space can damage structure and air quality. Here's how to understand, monitor, and address it responsibly.
Key Takeaways
- Moisture in basements and crawl spaces can originate from groundwater, condensation, or surface runoff - each requiring a different fix.
- A hygrometer and routine visual inspections are your first line of defense against hidden moisture buildup.
- Vapor barriers, drainage improvements, and proper ventilation each address different aspects of moisture control.
- Some moisture remediation work - especially around structural elements or mold - warrants a licensed professional.
Where Moisture Actually Comes From
Homeowners often assume a wet basement means a leaking pipe, but moisture intrusion below grade usually has three distinct sources: groundwater seepage, condensation, and surface water runoff. Identifying the right source is essential before any fix will hold.
Groundwater seepage happens when the soil surrounding your foundation becomes saturated and water migrates through porous concrete or masonry. You'll often see it as efflorescence - white, chalky deposits on walls - or as water appearing at floor-wall joints after heavy rain.
Condensation forms when warm, humid air from above meets cool below-grade surfaces, much like a cold glass on a humid summer day. This is especially common in crawl spaces during warmer months when outdoor air circulation is encouraged without adequate moisture control.
Surface runoff is rain or snowmelt draining toward the foundation rather than away from it. Poorly graded soil, clogged gutters, and downspouts discharging too close to the house all contribute. Our guide to gutter maintenance explains how overhead drainage decisions quietly affect below-grade conditions.
Monitoring and Detection: What to Look For
Regular monitoring prevents small moisture problems from becoming expensive structural ones. You don't need sophisticated equipment to stay ahead of the issue.
Use a hygrometer to track relative humidity in your basement or crawl space year-round.
Relative humidity above 60% creates conditions favorable for mold growth, wood rot, and pest activity. A simple, inexpensive hygrometer gives you an objective reading rather than relying on visual cues alone.
Conduct a plastic sheet tape test to distinguish condensation from seepage.
The source of moisture determines the solution. Applying the wrong fix wastes money and leaves the real problem in place. This simple diagnostic separates humidity-driven condensation from water migrating through the foundation.
Inspect visible wood framing in crawl spaces for soft spots, discoloration, or fungal growth at least once per year.
Wood rot and mold can progress significantly before becoming visible from a standing position. Catching early-stage deterioration prevents structural compromise and keeps remediation manageable in scope and cost.
Check that exterior soil grades slope away from the foundation at least 6 inches over the first 10 feet.
Flat or inward-sloping grade directs rain and snowmelt toward the foundation, increasing the hydrostatic pressure against below-grade walls. Correcting grade is one of the most cost-effective moisture-prevention measures available.
Install or maintain a vapor barrier on exposed crawl space ground.
Bare soil releases significant amounts of water vapor, raising humidity throughout the crawl space and the living area above it. A proper ground cover - typically 6-mil polyethylene sheeting - reduces this evaporation substantially.
As part of any seasonal home review, your basement and crawl space deserve the same systematic attention you'd give other rooms. See our room-by-room maintenance audit for a structured walkthrough that includes below-grade spaces.
Practical Control Measures
Once you've identified the moisture source, the appropriate control measure usually becomes clear. Addressing the wrong layer - say, installing a dehumidifier when the real problem is exterior grading - provides only temporary relief.
New homeowners: check before the first big rain
If you've recently moved in, make a point of inspecting your basement or crawl space within 24 hours after the first significant rainstorm. Fresh seepage, pooling, or new efflorescence tells you far more than a dry-season inspection ever could. If you're still building your maintenance habits, our guide for new homeowners covers how to approach upkeep systematically from day one.
For deeper background on tasks that protect your home's long-term structure, including grading and drainage considerations, see our article on lesser-known maintenance tasks. And if you're sealing visible gaps at rim joists or foundation penetrations, understanding when to use caulk versus weatherstripping will help you choose the right material.
When to Call a Licensed Professional
Some moisture situations go beyond DIY maintenance. Active mold covering more than 10 square feet, structural wood damage, foundation wall cracks with active water flow, and any work involving interior drainage systems or sump pump installation typically require a licensed contractor or waterproofing specialist. In many jurisdictions, certain types of foundation or drainage work may require permits - check with your local building department before undertaking significant below-grade modifications.

Author
Home & Appliances Editorial Team
Home & Appliances Editorial Team is the collective byline for our editorial team and contributor network. Articles published under this byline or an editorial pen name are researched, written, and reviewed according to our editorial standards for clarity, consistency, and independence before publication.
View all articles →