
Everything Homeowners Need to Know About HVAC Upkeep
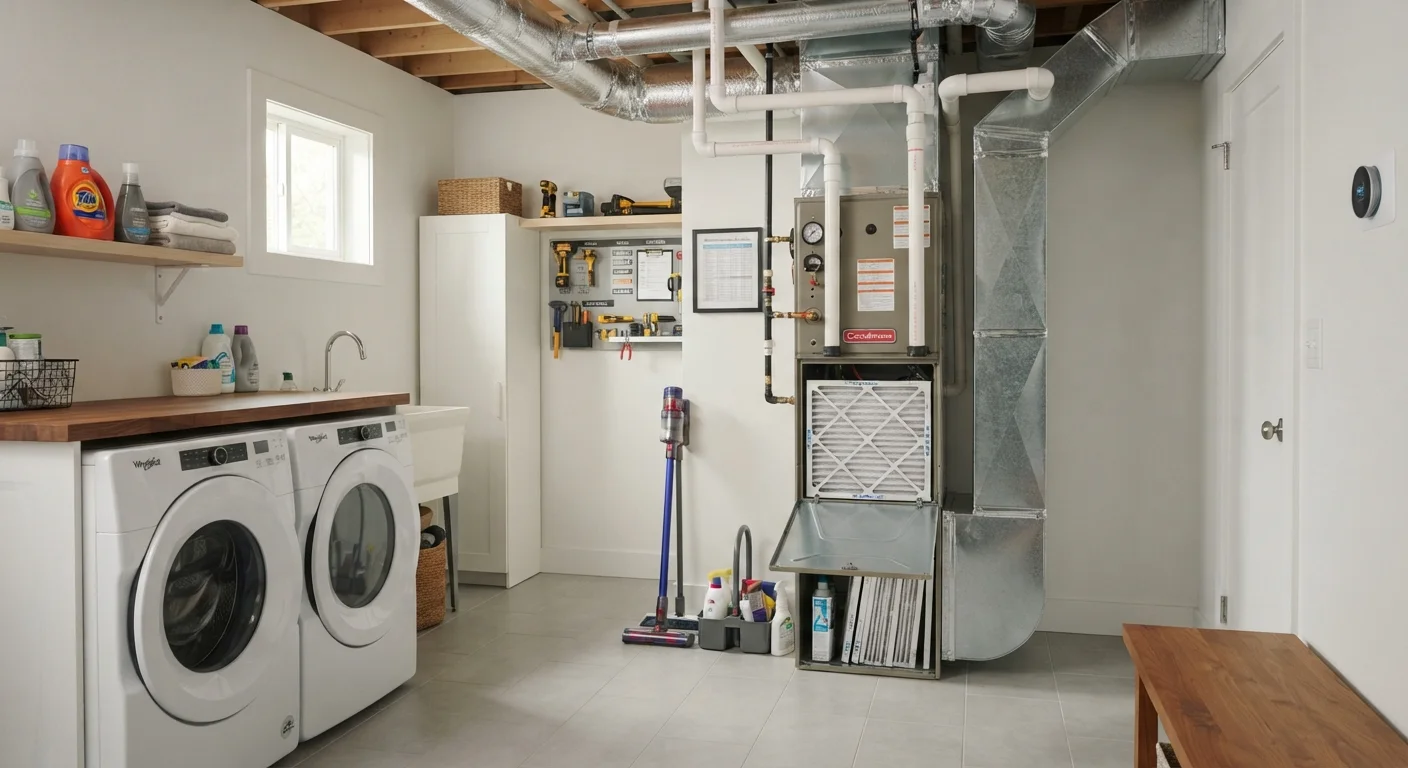
Photo credit: Wiseturt.com | Blogs Curated For You
In this article
A complete guide to maintaining your heating and cooling system — filter changes, inspections, airflow basics, and when to call a pro.
Key Takeaways
- Changing your air filter on schedule is the single highest-impact maintenance task a homeowner can perform.
- Most HVAC systems benefit from at least one professional inspection per year, ideally before peak heating or cooling season.
- Blocked vents, dirty coils, and clogged drains are leading causes of preventable system failures.
- Seasonal DIY checks - clearing outdoor unit debris, testing thermostats - cost nothing but time.
- Unusual noises, uneven temperatures, or rising energy bills are early warning signs worth investigating promptly.
How Your HVAC System Actually Works
HVAC stands for Heating, Ventilation, and Air Conditioning - and understanding those three functions helps you maintain each one intelligently. Most US homes use a central system: a furnace or heat pump handles heating, an air conditioner or the cooling side of a heat pump handles cooling, and a network of ducts distributes conditioned air throughout the home.
The cycle is straightforward. Your thermostat signals the system to run, the air handler pulls indoor air through a return vent and across a filter, conditions it (heating or cooling), and pushes it back through supply vents into each room. A refrigerant loop moves heat between inside and outside - absorbing it in summer, releasing it in winter when a heat pump is in use.
Knowing this cycle matters because most maintenance tasks target a specific part of it: a clogged filter chokes airflow at the source; a dirty outdoor coil impairs heat transfer; a blocked condensate drain causes water backup. Understanding the system turns maintenance from a chore into a logical routine. For a broader view of seasonal home upkeep, see our seasonal home maintenance calendar.
Air Filter Basics: What to Change and When
The air filter sits between your return duct and the air handler, catching dust, pet dander, pollen, and other particles before they reach internal components. A clean filter protects the system and improves indoor air quality; a clogged one restricts airflow, forces the blower motor to work harder, and can cause the evaporator coil to freeze.
Choosing the Right Filter MERV Rating
For most residential systems, a filter rated MERV 8 to 11 offers a strong balance between air filtration and unrestricted airflow. Before stepping up to a higher MERV rating, check your system's documentation or ask a technician - filters that are too restrictive can strain the blower motor and reduce system life.
Filter ratings are measured by MERV (Minimum Efficiency Reporting Value). A MERV 8-11 filter balances particle capture with adequate airflow for most residential systems. Very high MERV ratings (13+) can restrict flow in systems not designed for them - check your equipment manual or ask your HVAC technician before upgrading.
General Replacement Guidelines
- 1-inch filters: Every 1-3 months
- 2-inch filters: Every 3 months
- 4-5-inch media filters: Every 6-12 months
Households with pets, allergy sufferers, or heavy dust tend toward the shorter end of those ranges. Checking the filter visually each month takes less than a minute - hold it up to light; if you cannot see light through it, replace it.
1-3 months
Typical 1-inch filter replacement interval
The EPA and HVAC manufacturers generally recommend replacing standard 1-inch filters every one to three months depending on household conditions.
~25-30%
Energy potentially lost to duct leakage
The U.S. Department of Energy estimates that in many homes, leaky ducts can account for roughly 25-30% of heating and cooling energy loss.
Seasonal Maintenance Tasks Every Homeowner Can Do
Many HVAC maintenance steps require no tools and no special knowledge. Building them into a seasonal routine prevents the compounding neglect that leads to expensive repairs.
Spring (Before Cooling Season)
- Replace the air filter.
- Clear leaves, grass, and debris from around the outdoor condenser unit - maintain at least 2 feet of clearance on all sides.
- Straighten any bent fins on the condenser coil gently with a fin comb (available at hardware stores).
- Test the air conditioner on a mild day before you need it in an emergency.
- Check that condensate drain lines are clear (pour a small amount of diluted bleach down the line to inhibit algae growth).
Fall (Before Heating Season)
- Replace the air filter.
- Test the furnace or heat pump before cold weather arrives.
- Check that supply and return vents throughout the home are open and unobstructed.
- Inspect visible duct sections for gaps or disconnections.
- Replace thermostat batteries if applicable.
Our pre-freeze home preparation guide covers additional steps to take before winter sets in. Pair this with the appliance maintenance calendar to stay on schedule across all your home systems.
Set a recurring phone reminder on the first day of each season to check your filter - it takes under two minutes and is the maintenance task with the clearest payoff.
Filter neglect is the most common cause of reduced HVAC efficiency and avoidable service calls, making a simple reminder one of the highest-value habits a homeowner can build.
When clearing around your outdoor condenser unit, check that the unit itself is level - settling ground can tilt the unit over time, which stresses the compressor and refrigerant lines.
An unlevel condenser can cause refrigerant to pool unevenly and accelerate compressor wear, a repair that is significantly more expensive than minor leveling work.
Professional Inspections: What They Cover and Why They Matter
DIY tasks handle the surface layer of HVAC care. A licensed HVAC technician goes deeper - measuring refrigerant charge, checking electrical connections, testing safety controls, and assessing components a homeowner cannot safely access.
What a Typical Tune-Up Includes
- Inspecting and cleaning the evaporator and condenser coils
- Checking refrigerant levels and looking for leaks
- Testing the blower motor and belts
- Inspecting the heat exchanger (critical - a cracked heat exchanger can allow carbon monoxide to enter living spaces)
- Verifying thermostat calibration
- Checking electrical contacts, capacitors, and wiring
Heat Exchanger Cracks Are a Safety Issue
A cracked heat exchanger in a gas furnace can allow combustion gases, including carbon monoxide, to mix with the air circulated through your home. This is a serious health and safety risk. Carbon monoxide is odorless and colorless. Ensure your home has working CO detectors and have your furnace heat exchanger inspected by a licensed professional annually - do not attempt to inspect or repair this component yourself.
Most manufacturers recommend a professional inspection once per year at minimum - twice per year (once before cooling season, once before heating season) for systems that run heavily or in extreme climates. Many HVAC contractors offer maintenance agreements that bundle these visits at a predictable annual cost.
Note that some manufacturer warranties may require documented annual service to remain valid. Keep records of inspections, including the technician's name, date, and any findings or parts replaced.
Warning Signs Your HVAC System Needs Attention
Your system communicates problems before they become failures. Learning to recognize these signals saves money and avoids breakdowns during the hottest or coldest days of the year.
Don't Ignore These Warning Signs
Unusual noises, short cycling, musty odors, or unexplained spikes in energy bills are not normal operating characteristics - they are the system's early warning signals. Addressing them quickly is almost always less expensive than waiting for a component to fail completely during extreme weather.
- Unusual noises: Banging, squealing, or rattling often indicate loose components, a failing motor bearing, or debris in the system.
- Uneven temperatures: One room consistently warmer or cooler than others can point to duct leaks, blocked vents, or a struggling blower.
- Rising utility bills without a change in usage: A system working harder than it should - often due to dirty coils or low refrigerant - shows up in energy consumption first.
- Short cycling: The system turning on and off in rapid succession can indicate an oversized unit, a refrigerant issue, or a dirty filter.
- Excess humidity or musty odors: Can signal a clogged condensate drain, mold growth in the air handler, or duct leaks drawing in unconditioned air.
If you notice any of these, schedule a service call. Prompt attention typically costs less than delayed repair. For a broader sweep of overlooked home systems, our room-by-room maintenance audit provides a useful reference.
Airflow, Vents, and Ductwork: The Overlooked Fundamentals
Airflow is the invisible backbone of HVAC performance. Even a well-maintained unit cannot compensate for duct leaks, blocked vents, or imbalanced supply and return paths.
Common Airflow Problems
- Closed or blocked supply vents
- Closing vents in unused rooms does not save energy - it increases static pressure on the system and can reduce efficiency. Keep vents open throughout the home.
- Undersized return vents
- If your system has too few return air paths, it struggles to pull enough air back in. Signs include whistling near return grilles or the system running constantly.
- Leaky ducts
- The U.S. Department of Energy has noted that duct leakage in typical homes can account for significant energy waste. Visible gaps at duct joints can often be sealed with mastic sealant or metal-backed tape (not standard duct tape, which degrades).
If your home has rooms that never reach the set temperature, consider having an HVAC professional perform a duct leakage test. Addressing duct problems can improve both comfort and system efficiency meaningfully. Pair your HVAC awareness with broader home knowledge - our plumbing basics guide and dryer vent maintenance overview cover other systems that benefit from the same preventive mindset.
Duct Sealing: DIY vs. Professional
Accessible duct joints in unfinished basements or attics can often be sealed by a careful homeowner using mastic sealant or metal-backed foil tape. However, ductwork inside walls, ceilings, or crawlspaces should be assessed and sealed by a professional. A full duct leakage test - performed with a blower door and duct pressurization equipment - gives you accurate data on where losses are occurring.
This article is for general informational purposes only. HVAC systems vary by type, age, and regional climate. Always consult a licensed HVAC professional before undertaking work that involves electrical components, refrigerant handling, or gas connections, and verify local permit requirements for any significant system modifications.

Author
Home & Appliances Editorial Team
Home & Appliances Editorial Team is the collective byline for our editorial team and contributor network. Articles published under this byline or an editorial pen name are researched, written, and reviewed according to our editorial standards for clarity, consistency, and independence before publication.
View all articles →